For the first couple of days, brows will appear dark and very defined before the scabbing phase. The thickness will subside gradually as the days go by.
You may notice whiteness or blanching around the area, this is quite normal and will subside within 12 hours. If you find any lymphatic fluid or blood weeping you can gently clean the area with cool boiled water and gauze, blotting gently dry to remove any moisture.
Redness, swelling, and stinging is normal and should subside by the following day completely. If the area feels unbearable for certain individuals who have low pain tolerance, please use a clean ice pack for comfort.
You will go through three healing phases: 1-heal, 2-peel and 3-fade.
Once the brow area starts to peel, it will appear flaky and unappealing. The area may feel a bit dry. Do not pick or pull at the treated area as it will result in pigment loss
Once all scabs have fully fallen off completely and naturally, healed results should appear 10-30% lighter in color and 10-15% smaller in size from the initial. Consider using a waterproof total sunblock when going out in the sun to stop the color fading.
I am having powder brows on myself and the aftercare I follow was :
Day 1 :wash the eyebrows with neutral soap and cotton pad by pressing gently the skin with the pad 30 min after the treatment, then every 2 hours to wash until I go to bed and put a cream only in the evening
Day 2 and 3 :wash the eyebrows 2 times per day only with water and cotton pad by tamponate movements and pressing gently, not rubbing and apply a cream. From day 4 and up the brows they start to pill, so just wash with water 2 times per day and apply a cream, not to clean with pad anymore. My eyebrows heal good
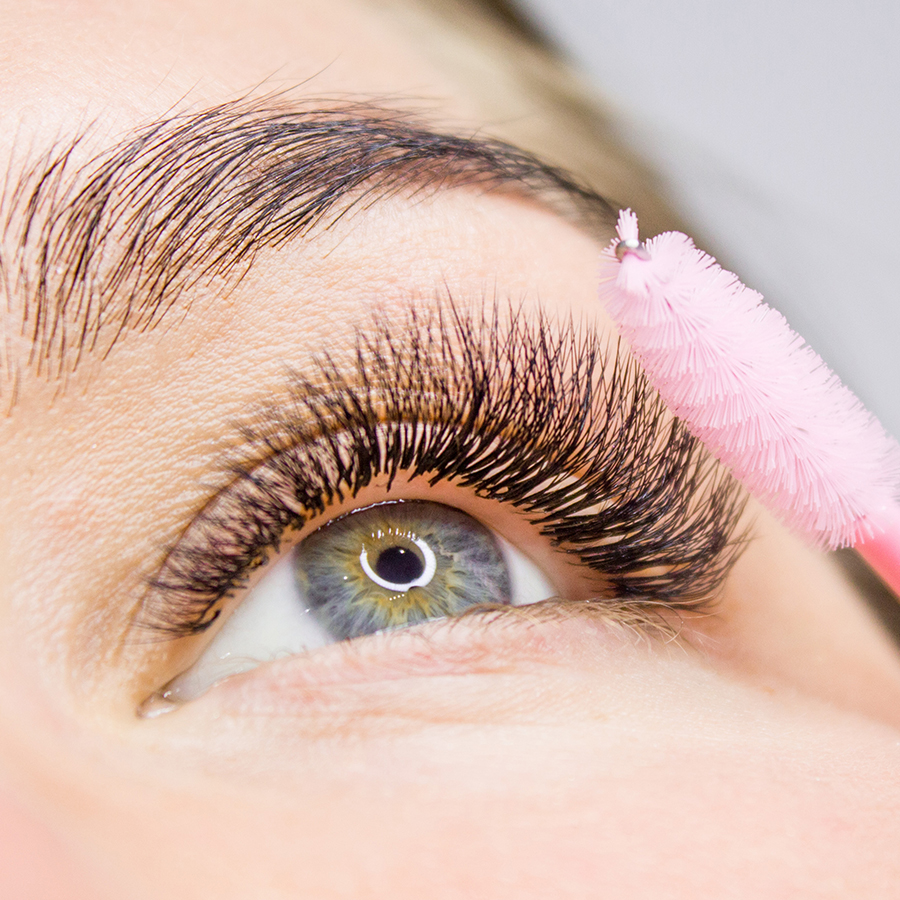
AFTERCARE FOR LASHES
Instructions
After having your lashes done (full set or refills as well as lash corrections), avoid water, heat, facial service and tanning beds in the next 24 hours. If receiving a facial, request for dry cotton rounds or tanning goggles to be placed over your lashes. Avoid facial products on your upper lids. Goggle should be worn for spay tanning.
After 24 – 48 hours, resume normal life style, but resist to heat, sweat, sauna and water.
Clean your lashes at least once a day. See our cleaning instructions.
If you use any kind of cleaning liquid/products, they must be oil free. Oils will weaken the integrity of the adhesive and make your lashes shed.
Brush lashes with mascara wand at least once a day. Gentle roll the brush over the lashes with your eyes closed to detangle your lashes. Open your eyes and adjust lashes with brush.
We recommend oil-free conditioner and be very cautious with hair conditioner that are oil based. Lean your head back and do not let it dripping on to your lashes.
We recommend oil-free Mascara. Only apply mascara on the tips of extensions. We recommend using an angle head synthetic brush to apply mascara. Do not use waterproof mascara.
Avoid getting close to the heated oven, grill or fire pit. When cooking, open an oven or grill lid, should wait 20 – 30 seconds so the heat/steam/smoke to dissipate before approaching. Excessive heat can straighten your lash extensions.
Avoid shower water stream from directly hitting your lashes.
Use any kind of skincare products but use a washcloth to rinse off avoid these products which often have high oil concentration dripping onto your lashes.
How to clean your Eyelash Extensions - Step by Step
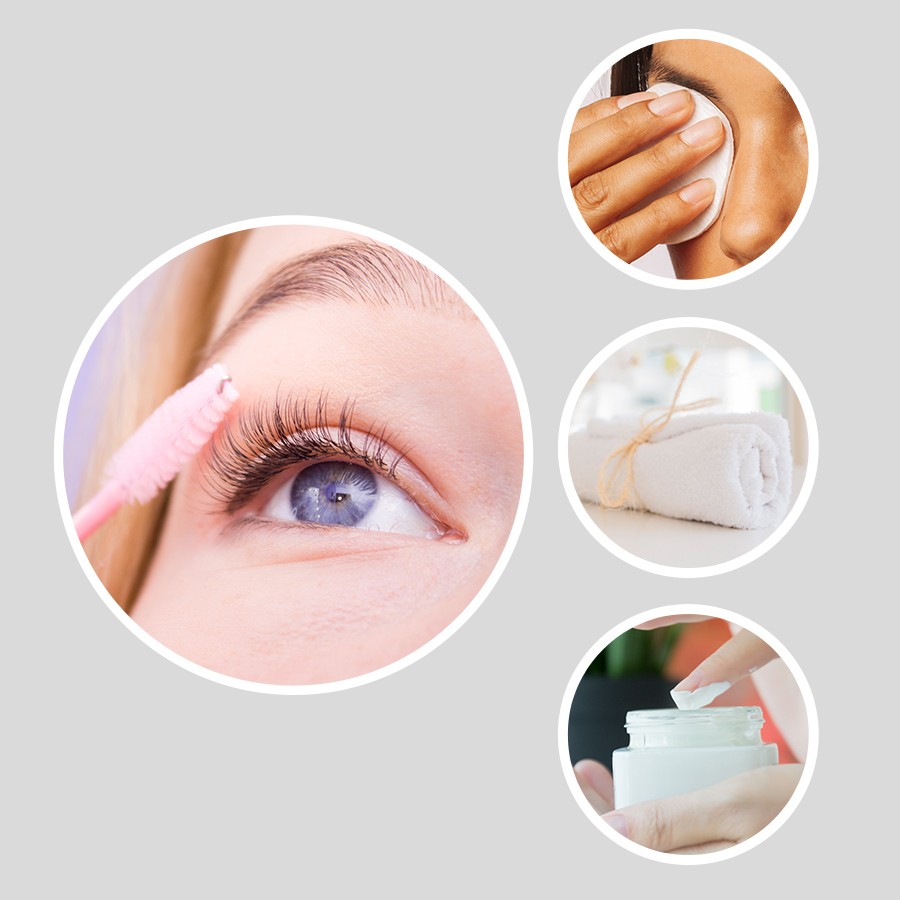
Remove all eye-makeup using an oil and glycol-free makeup remover such as Oil Free Makeup removal. When removing eyeliner, use a cotton tip dipped in oil free remover and wipe it either across the lid or away from the lid but NEVER towards the extensions. Do NOT use cotton balls as it will cause a huge mess.
If you are wearing heavy foundation, remove this too before washing eyes, using your OIL-FREE cleanser of choice but AVOIDING the eye area.
Wet your eyes with cool water. Take a SMALL amount of oil-free baby shampoo or Lady Lash Professional eyelash cleanser available at the studio and lather it up on your palm. Apply this to both eyes, one at a time, splashing it over them. Don’t rub or lather them like washing hair; just gently splash it over your closed eyes. If your eyes still feel grubby, repeat it over again.
Rinse it off and dab them gently dry. It doesn’t matter if they are a little damp, stuck together with water etc., when you brush them they will re-separate.
Use your lash wand to very gently twirl through them and fan them back out.
Do this 2-3 times per week.
IMPORTANT - Please do wait at least 24 hours before wetting your Eyelash Extensions.
Basic Eyelash Hygiene
Many people seem to think, that because we tell you in the aftercare instructions, not to wet your eyelashes for 48 hours, this means do not wet them ever. This is actually incorrect, and you do need to get them wet regularly in order to clean them. Improper cleaning of your eyelashes/extensions and eyelids can actually cause a few problems that will mean your extensions end up not lasting as long as they should.
Blepharitis is a common problem amongst those who do not exercise good eyelid hygiene. It’s defined as “inflammation of the eyelid” and but from our experience it seems to be a condition that is annoying and irritating rather than dangerous. Basically, dead skin cells when not washed away properly can build up on the eyelids, and cause itchiness and inflammation. It can even cause your eyes to look a bit red and sore. Some people that have blepharitis believe they are having a minor allergic reaction to eyelash extensions and/or glues. We suggest proper cleansing of your lids and extensions, you might discover that:
1. The itchiness disappear very quickly.
2. Your eyes feel much better.
3. Your Extensions last longer !
It is worse when one wears very thick/dense eyelash extensions, and then coats them in mascara (which we NEVER recommend) because as you can imagine, they are almost impossible to clean well.

In addition, if you have an oily complexion, and/or also if you’ve been wearing makeup or moisturizer that does contain some amount of oil in it, some of this oil will end up on your eyelash extensions. If you never wash them, the oil remains there, building up, and wears away eyelash adhesive causing your extension to fall off sooner. All eyelash adhesives are attacked by oil. The less oily you let your eyelash extensions get generally the better your extensions will last.
Recommended OTC Products

Systance Ultra: To help dry eye symptom relief.
Visine Original: To remove eye redness.
Thera Tears SleriLid: Eyelid cleaner.
Lady Lady Professional Foaming Cleanser: Eyelash cleanser (Available at Lady Lash Professional Studio).
Zaditor: Eye itch relief.
Cortizone -10plus: Relieves itch Fast!
Zyrtec Allergy: For Allergy.
Benadryl: For Allergy.
AFTERCARE SPECIFIC TO LIPS
In addition to the general aftercare instructions, please follow these specific lip instructions.
Remember, place nothing on the treated area (except your aftercare product) until healed. This this means no makeup, creams, water (except for cleansing as detailed below), etc. After your procedure, your skin will start forming a protective scab. You may see fluid or ooze on the skin from lymph secretion. The fluid should be dabbed and blotted off with a sterile gauze pad. It can crust the skin over and prevent it from breathing and healing.
After 24 hours, clean the treated area daily with mild warm water and non-alcohol soap. Apply soapy solution on a sterile gauze and blot 4 to 5 times to clean. Then blot completely dry. Use patting motions only. No Scrubbing. No rubbing. No wiping. No scratching. Make sure the area is completely dry because germs love moisture!
Lips will ooze for a couple days and peel for a week or so. After sleeping, crust will have dried on the lips. Blot with water. Clean and apply aftercare product as directed. Try not to disturb the crust when cleaning and let it fall off by itself. Picking and pulling off skin that is not ready to come off will cause pigment loss and can pull out deeper tissue. The edges or lip liner
will be the last to fall off. Pulling this off will result in an uneven splotchy line or an indented scar.
Apply aftercare product on the clean and dry treated area. Place the ointment on the scabs that are beginning to form. If you place ointment on the area and it is not dry, this may cause irritation or an infection and could lead to color loss. Keep your lips moist all the times with the aftercare product. After approximately 3 weeks after the procedure when no more scabs are present, discontinue the aftercare product. Begin to apply sunblock appropriate for lips to protect the pigment and a good lip balm.
Lips will be tender at first after the procedure. Drink only through a straw. Choose to only eat foods you can place in your mouth with a fork without touching the lips. Do not eat spicy foods or hot liquids for 48 hours after your procedure. It’s a good idea not to eat oily foods, salty foods, acidic foods or alcohol while healing.
Do not get toothpaste on your lips. It’s a good idea to brush your teeth with just water for 72 hrs post-treatment. Do not bleach your teeth until your lips are healed. Do not excessively stretch lips while they are healing with big smiles or pucker lips with smoking. Those motions push and pull against the lip edges, applying tension and friction between the strong normal skin surrounding the mouth and the broken inflamed lip edges. Lip skin is a continuation of the delicate mucous membrane of the mouth. It is not strong like normal skin.
EYELINER TATTOO AFTERCARE
This document will provide the necessary information to care for your new semi-permanent eye tattoo. This information is meant to serve as a guideline and does not guarantee results. Each person’s skin responds and heals differently. Healing time, resulting color, retention, touch-ups required, and scarring will vary depending on each individual.
WHAT TO EXPECT
You may experience discomfort, mild pain/sensitivity, swelling, and redness immediately following the procedure. Your eyes may feel like you have been crying for several hours. These initial symptoms should subside within 1-3 days. Avoid the sun, heavy exercise/ sweating, direct contact, and wetting for the first 10 days after the procedure.
DAYS 1-3
Dry healing results in the best color retention for the eyeliner tattoo area so do not apply any cream or ointment to your eyeliner tattoo. Do not use any eye makeup (including mascara) or wear contact lenses for the first 3 days. Sunglasses are recommended to protect your eyes.
DAYS 4-7
Around day 3 or 4, treated areas will begin to scab and flake. DO NOT scratch or remove the scabs. Please note that picking, scratching, or removing healing skin from your tattoo may result in loss of pigmentation. They will fall off on their own and any adjustments needed will be corrected during your touch-up.
DAY 10 THROUGH TOUCH-UP
You may resume exercise, sun exposure, wetting (showers, facial cleansing, etc.) at your own discretion when your tattoo is done scabbing. They will appear lighter and softer and may darken slightly as the skin regenerates and fully heals. Patchiness or loss of pigment will be addressed and corrected during your touch-up.
CARE INSTRUCTIONS
Do not apply any makeup or other products until your eyeliner tattoo is fully healed.
DAYS 1-7: Do not apply makeup or products on around the treated areas for the first 7 days. Do not wear contact lenses for the first 3 days. Sunglasses are recommended to protect your eyes and the treated areas.
DAYS 8-14: You may resume exercise, sun exposure, makeup, and regular wetting at your own discretion when your tattoo is done scabbing. Continue to avoid chemical peels, exfoliating, and products containing retinal, alpha hydroxy, and glycolic acids until touch-up. Purchasing new eye makeup is recommended to help prevent infection of the treated areas.